Looking
for a new way to explore painting? How about using q-tips? We typically use
paintbrushes and stamps and even our fingers to paint, but this was a first for
q-tips and I have to say that it went much better than expected. It was less
messy and made the materials last much longer than usual, as they were using a
smaller instrument to distribute the paint.
I
originally thought that q-tip painting was going to be a terrible idea. I
figured the kids would either try to eat the paint or stick the paint covered
q-tips in their ears. Neither of those things happened –thank goodness!
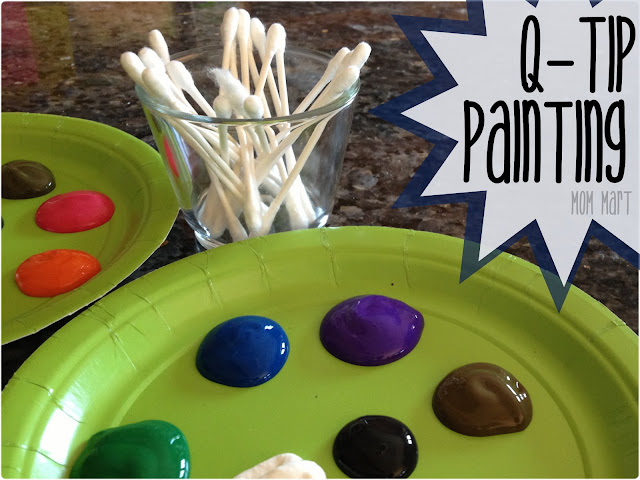
What you need:
Paint
Paper Plate
Paper
Q-tips
How to Make It:
Create a pallet for the paint on a paper
plate by pouring the paint in little dots around the plate. Do not mix colors
(let the kids discover this on their own – it is more fun)
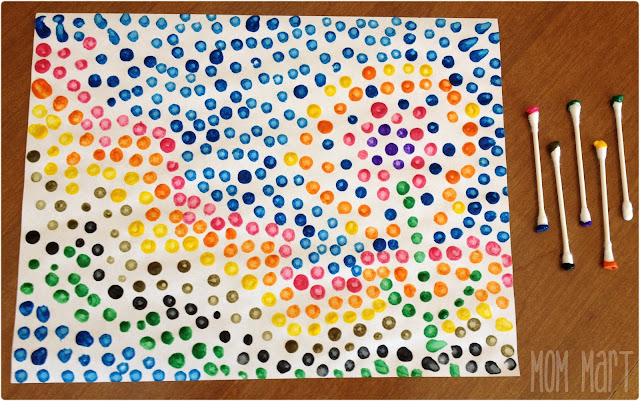
Provide q-tips and paper for the kids and let
them get to work.
I like
to sit down with the kids and create my own artwork. By doing this I am
modeling for them one way of using the materials, but I am not forcing them to
do things MY way. They are allowed to manipulate the supplies however they
like. They usually get right into the activity and start getting paint happy.
My oldest will peek up every once in a while to see what is going on.
When
the kids do notice me sitting with them painting they like to take some time to
check out what I am doing and how I am doing it. My youngest then tries to add
his artful interpretations to my piece. My oldest then tries to mimic what I am
doing onto his own piece of artwork. I find this very interesting and very age appropriate.
Have you tried Q-tip painting and if so, how did it turn
out?


